ProLaw Power Move: Setting Up Recurring Dockets Easier!
You need a docket to recur a specific number of days after it’s marked “done.” Seems simple enough, right? You try setting up a recurring docket that references itself, but then you hit that first snag: when you initially create the docket, it already adds the recurrence interval to your starting date. Frustrating!
Well, fellow ProLaw users, I’ve stumbled upon a neat little workaround that tackles this head-on, and I’m excited to share it with you. Say goodbye to manual date calculations and hello to seamless recurring dockets!
The Secret Sauce: Leveraging Multiple Docket Types
The key to this trick lies in creating multiple docket types with the same name but slightly different configurations. Here’s the breakdown:
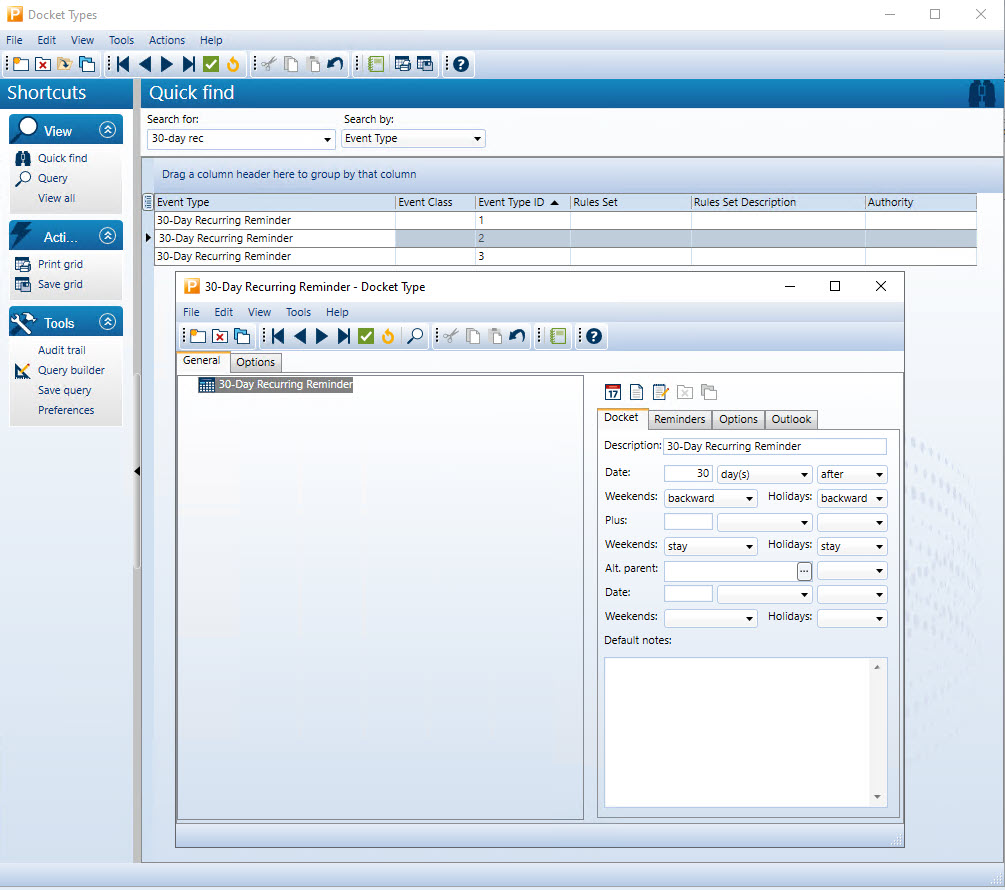
The Initial Docket (Event ID: 1): This is your starting docket. You’ll create this one manually on your matter. It will have the name you desire for your recurring docket, but no date calculation. This ensures that the initial docket date you enter is exactly what you need.
The Recurring Dockets (Event IDs: 2 & 3): These are your workhorses for the recurrence. Give them the exact same name as your initial docket. Here’s where the magic happens:
Set the date calculation for both Docket Types 2 and 3 to add your desired interval (in our case, 30 days) after. This is the crucial step that automates your recurrence.
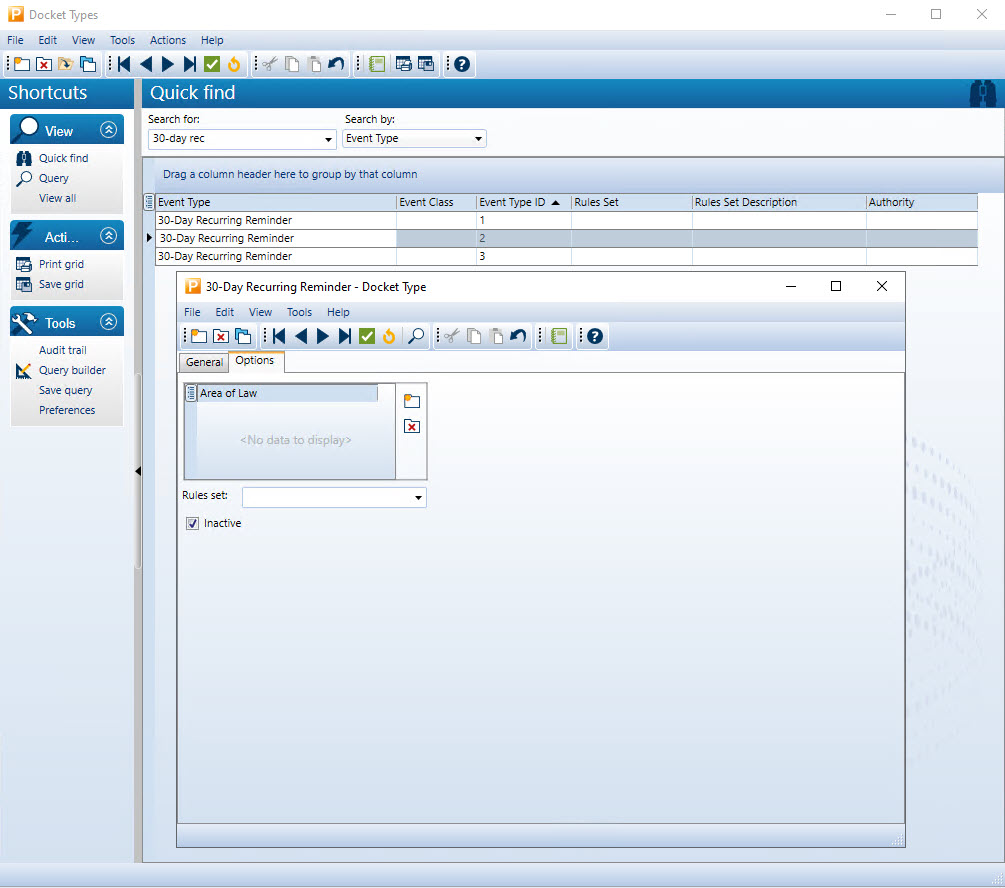
To differentiate them, assign unique Event IDs (e.g., 2 and 3). This will help you keep them straight in the backend.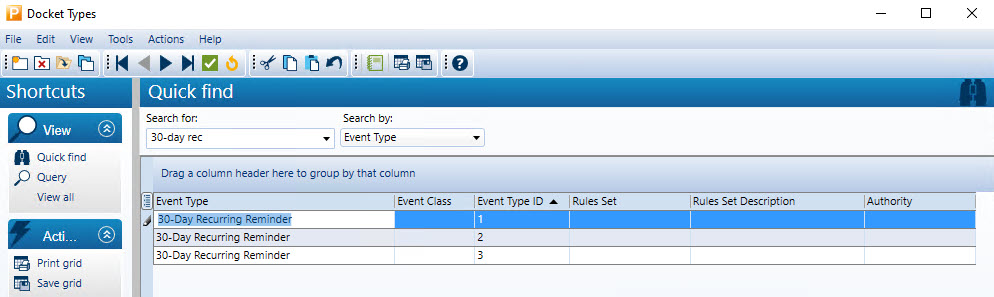 Crucially, mark Docket Types 2 and 3 as “Inactive” on the Options tab. This is what keeps them hidden from view when you initially create a docket on a matter.
How It Works in Practice:
Let’s walk through the lifecycle of this clever docket setup:
Initial Docket Creation: You create the first docket (Event ID 1) on your matter. Because it has no date calculation, the date you enter is the actual starting point. You won’t see Docket Types 2 or 3 because they are inactive.
First Recurrence: When you mark Docket Type 1 as “done,” ProLaw looks for active dockets with the same name that are set to trigger upon completion. Because Docket Type 2 is set to recur 30 days after the “done” date of a docket with the same name, and it’s now being activated by the completion of Docket Type 1, it will appear with the date automatically calculated as 30 days after the “done” date of Docket Type 1.
Subsequent Recurrences: Now, when you mark Docket Type 2 as “done,” Docket Type 3 (also with the same name and the 30-day calculation) will pop up, again with the date automatically calculated. When you mark Docket Type 3 as “done,” Docket Type 2 will reappear, and the cycle continues!
The Beauty of This Method:
No More Manual Calculations: Once set up, the dates for your recurring dockets are automatically generated.
Clean Initial Docket Entry: You enter the exact date you need the first time without any premature additions.
Seamless Automation: The process flows smoothly, creating a truly automated recurring docket system.
A Little Housekeeping Tip:
Using distinct Event IDs (1, 2, 3) makes it easier to manage these related docket types in your ProLaw setup.
Give this technique a try! It might just be the ProLaw power move you’ve been waiting for to streamline your docketing process. Let me know in the comments if you find this helpful or if you have any other ProLaw tips to share!
#ProLaw #ProLawFrontOffice #ProLawDockets #WLCR #ProLawDocketTypes